
Flip Flop Tutorial: Bottle caps, Ribbon, Bow, Flip Flop
These super cute DIY flip flops are so fun! They are making me wish it were summer! This was actually our very first craft that got us into the crafting business. The craft that I came up with to post on Etsy back when I was only 6. They are a classic! They are super fun and colorful and have interchangeable bottle cap images so you can personalize for any day! They are perfect for a Disney Vacay or for any beach trip!
To create these fabulous flip flops, follow our step by step tutorial below…this post contains some affiliate links for your convenience (which means if you make a purchase after clicking a link I will earn a small commission but it won’t cost you a penny more)!
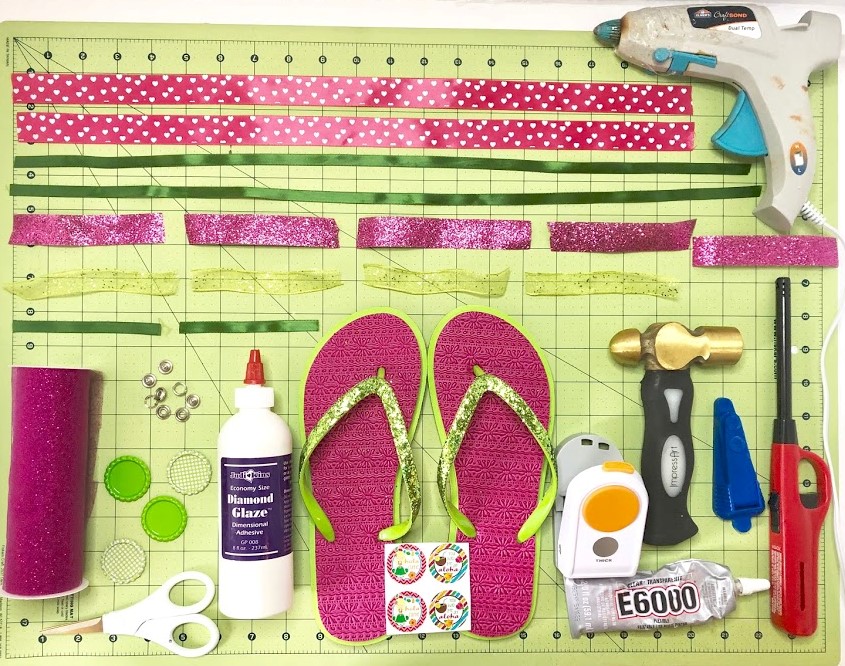
SUPPLY LIST:
5 1 in. Grosgrain ribbon 4.5 inches long
4 1 in. solid at 4.5 inches long
4 1/4 In. Grosgrain ribbon at 8 Inches a piece
2 1/2 in. Grosgrain ribbon 15 inches long
2 1/4 in. Grosgrain ribbon at 4 inches long
Blank flip flops of your choice
4 bottle cap images (we google them)
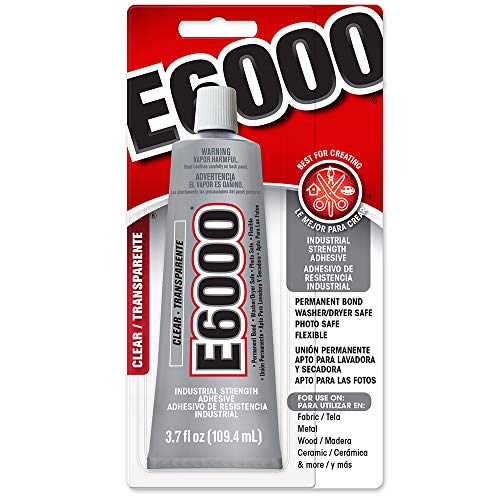
Diamond Glaze Clear glue ( see below which one we use)
Scissors
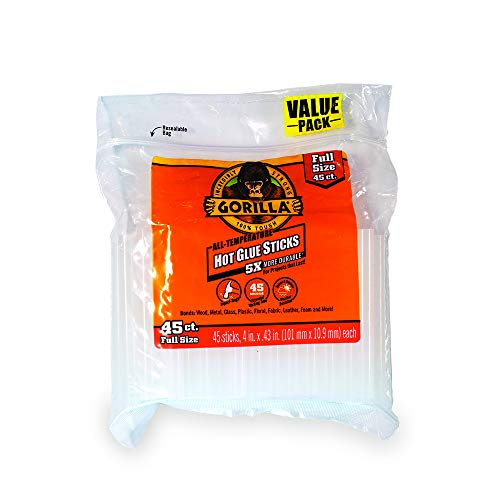
Hot glue (see below which one we use)
E-6000 glue (see below which one we use)
STEP ONE: MAKE FANCY BOW
Start by cutting all of your ribbon to the lengths above.
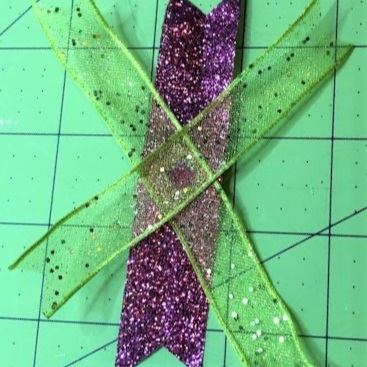
Take your 4.5 inch pieces of ribbon and fold the ends in half and cut at an angle to create a “V”.

Now, hit the ends with a little heat…not too much because you can either melt the ribbon or start it on fire.(don't ask how we know that)

Next, you will take all of those spikes and fan them out and glue the centers together.

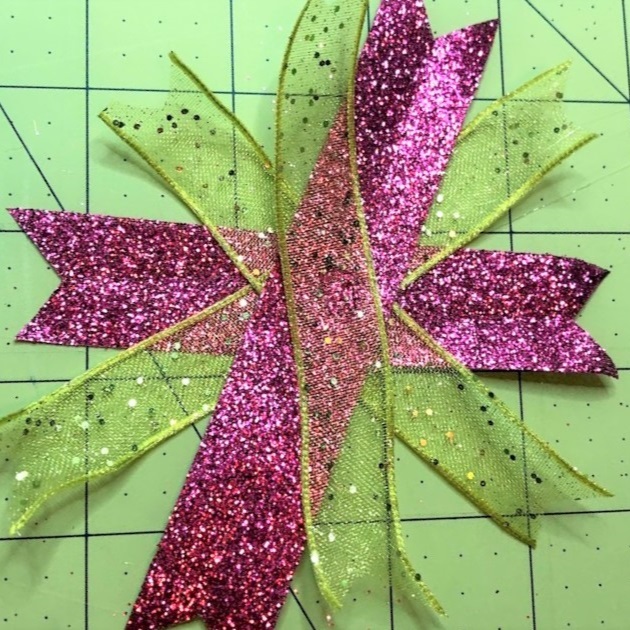

FINISHED!
We like to make a Tulle fluff to attach this to. We cut the tulle just a little longer than the spikes and gather it in the middle then put a little hot glue on it and attach our spikes to it. We do this for two reasons, first, it is cute! Second, there is more to glue to the flip flop this way.


Next, use your 20” long piece of narrow ribbon and glue one end to the center of your spike and then fold it into a figure eight, keeping it “inside out”. It will look like a four leaf clover when you have it right. We just touch a little glue with each leaf in the middle.

Now, to make the center bow! Mom found the easiest way for me to make bows when I was smaller. We used to use tiny hair rubber bands to hold them together but I have since graduated to tying them with string! You just need to make sure this bow fits into your four leaf clover. Depending on what type of ribbon you use, you may only need one of them but for this one, it needed two. I basically just wrap it around until I have used the entire length and then tie the center. We don’t twist it in the middle because that is just too much work for me and I get frustrated. Once you fluff it, it is so cute! Sometimes we will hit it with hot glue between the folds to keep it fluffed. We have tried different kinds of double sided tape but they don’t work as well.


Now attached these to the rest of your bow!

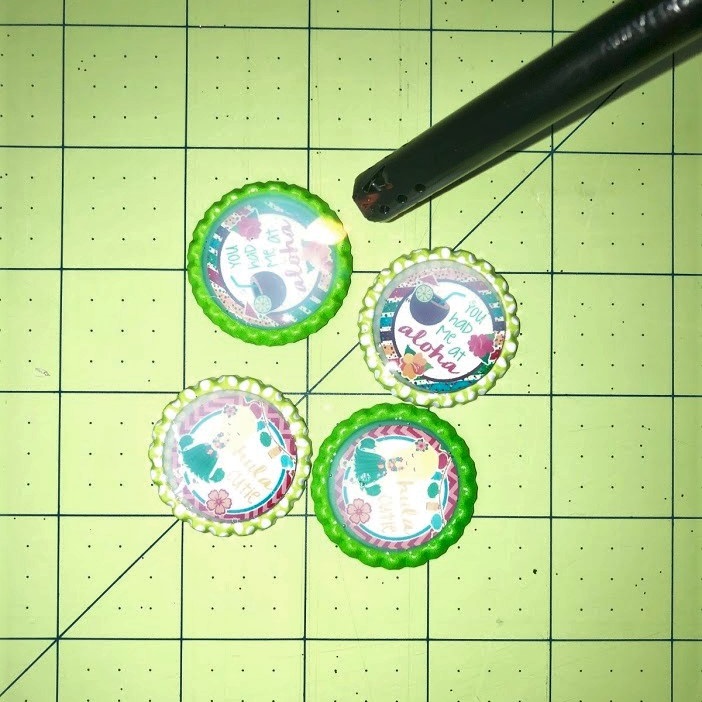
Now for the bottle caps, which is my favorite part!
After you print your design, cut out your 1 inch image with your cutter.

Glue the image into your bottle cap with diamond glaze. Sometimes it floats so keep an eye on it and push it down if you need to.

Putting heat on it will help pop the bubbles. once these are dry you will glue to male end of the snap to the back with E-6000.

attach the female end of the snap to your ribbon that is 6 inches long right in the middle. This will become the center of your bow and helps hold it on your flip flop.

Last step! Attach the bow to the flip flop using that ribbon and hot glue. We also then use e-6000 to give it some extra support. Nothing loves to stick to flip flops!

All finished! Please ask any questions you have along the way. Mom loves to help! We hope you love these as much as we have. We have made them for kids going to Disney, brides and bridesmaids for wedding receptions, and have customized several of my flip flops to bling them up! Please remember to comment and subscribe to keep up with mom and I on this journey.